Spring is the perfect time to refresh your home, and few upgrades make a bigger impact than a skylight. By bringing in more natural light and fresh air, a skylight can transform dim or stuffy rooms into open, inviting spaces. It also adds a unique architectural feature that boosts both comfort and home value.
In this blog, you’ll find everything you need to know about skylight installation, from the different types available to step-by-step installation tips and maintenance advice. We’ll also help you avoid common issues and share top product recommendations from LENCO Supplies to make your project smoother and more successful.
Why Install a Skylight?
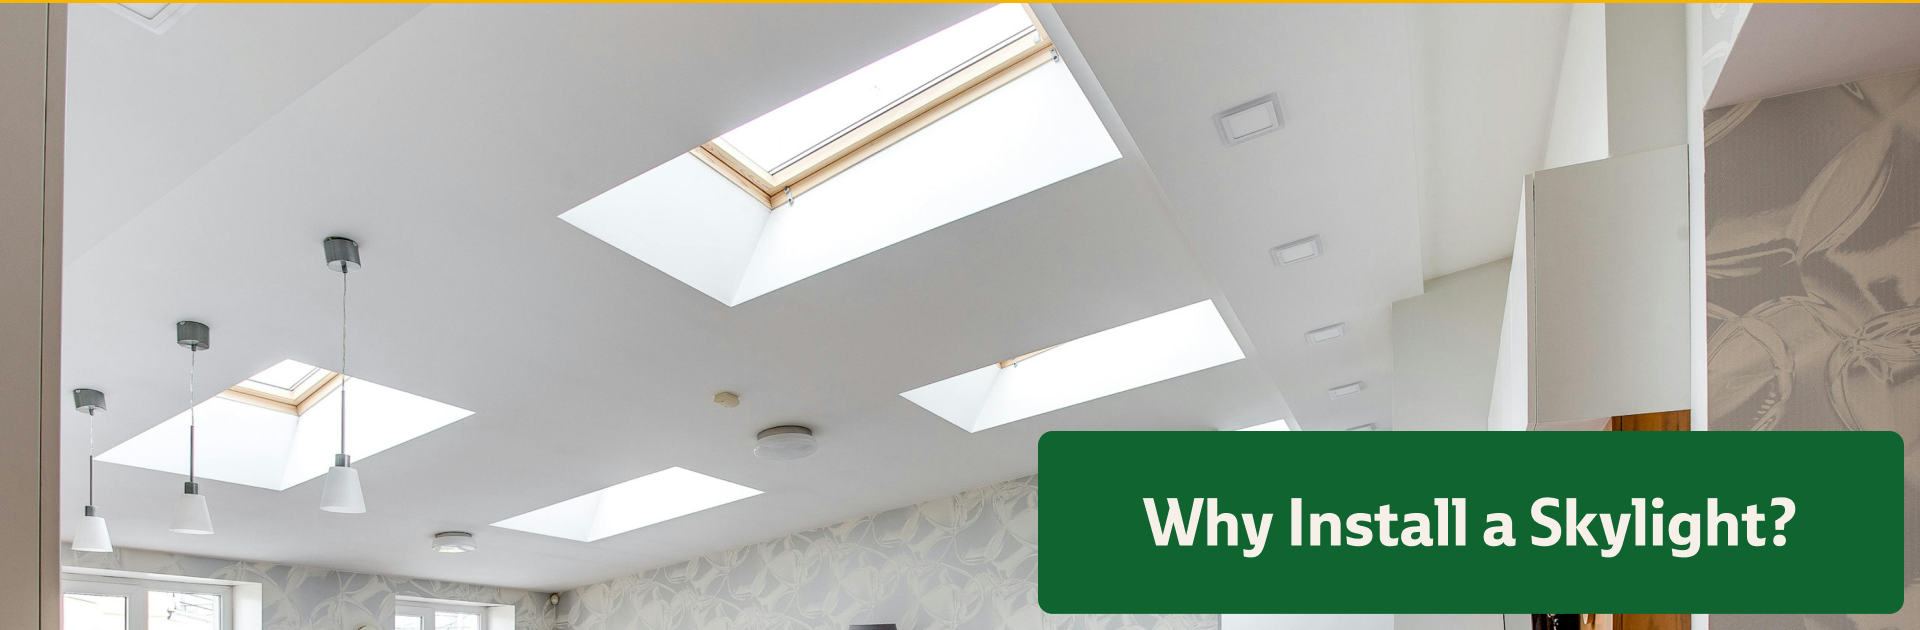
A well-placed skylight can completely change the feel of a room. It brings in natural light, which helps cut down on electricity use during the day. In rooms with vented skylights, the extra airflow can make a noticeable difference in temperature and humidity, especially in bathrooms and kitchens. Natural light also helps improve your mood and creates a more comfortable living space.
On top of all that, a skylight can increase your home’s resale value by adding a modern feature that buyers appreciate. Many homeowners install skylights in areas where regular windows don’t fit well, like interior hallways, stairwells, or rooms without outside-facing walls.
What Should I Consider Before Installing a Skylight?

Before cutting into your roof, there are a few key factors to think about. First, assess your roof type and slope. Some skylights work better with flat roofs, while others are designed for pitched roofs. You should also identify the direction your skylight will face. South-facing skylights let in the most light, while north-facing ones offer softer, more even lighting throughout the day.
Next, consider the room you plan to enhance. Kitchens, bathrooms, and living rooms benefit greatly from extra light and airflow. It’s also wise to check your attic or ceiling structure to make sure there are no obstructions like beams, pipes, or electrical wires that could complicate the installation.
Types of Skylights: Which One Fits Your Home?
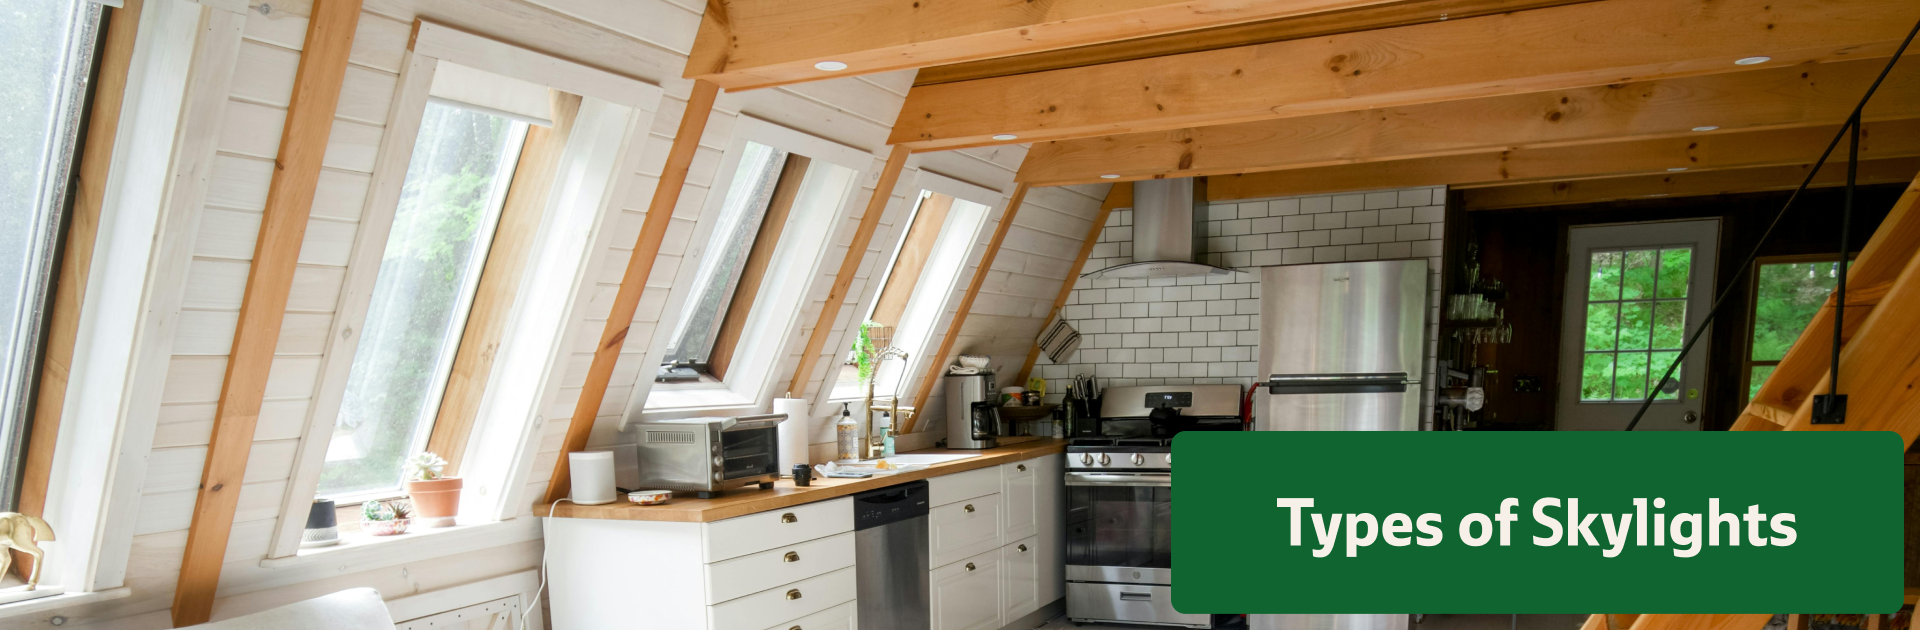
Not all skylights serve the same purpose. Picking the right type comes down to how much light and airflow you want, and where you plan to place it. Some work well in high-traffic living spaces, while others suit small or awkward areas that need just a touch of daylight. Here are the types of skylights:
Fixed Skylights
A fixed skylight stays closed and brings in steady natural light throughout the day. This type works well in rooms that do not require extra airflow, such as hallways, stairwells, or attics. It’s also a popular option for living rooms where homeowners want to brighten up the space without adjusting any settings or worrying about drafts. Since it remains sealed, a fixed skylight tends to have fewer issues with leaking or condensation when installed correctly.
Vented Skylights (Manual or Electric)
This skylight opens to release warm air and draw in fresh air from outside. Homeowners often install vented skylights in kitchens, bathrooms, or laundry areas, where steam and heat tend to build up. Manual versions open with a crank or pole, while electric models work with a remote or switch. Some high-end versions even close automatically when they sense rain. This type helps regulate indoor temperature and improve air circulation, making it a smart choice for moisture-prone rooms.
Tubular Skylights
Tubular skylights are compact and work well in tight spots where larger models would not fit. Instead of a full glass window, this design uses a reflective tube that channels sunlight from the roof down into the interior space. You often see these installed in small bathrooms, closets, or hallways. They take up less roof space and require less construction work, so they’re ideal for quick upgrades where natural light is needed but ventilation is not a priority.
Step-by-Step Skylight Installation Guide
Installing a skylight takes careful planning and the right approach to avoid leaks or damage. Here’s a clear outline of the main steps to help you understand how the process works from start to finish:
- Mark the area where you want the skylight, using measurements from inside the attic.
- Cut the roof opening carefully, starting with small guide holes before cutting the full shape.
- Install the skylight frame, ensuring it’s level and fits snugly.
- Add flashing and underlayment around the unit to prevent water leaks.
- Seal all edges with roofing caulk and cover with shingles to blend with the roof.
- Finish the interior by insulating the space between the skylight and the ceiling, then adding drywall or trim.
Recommended Products from LENCO Supplies
Here are top-tier products from LENCO Supplies featuring VELUX skylights and accessories, presented as a clean list:
VELUX Skylights (venting and fixed models) – LENCO offers a full lineup of VELUX deck‑ and curb‑mounted skylights, including vented versions like the VS‑M04 and VS‑C08, along with fixed options such as FS‑M02 and FS‑C01.
VELUX EDLC06 Flashing Kit – This low‑profile step flashing kit fits 21″ wide deck‑mounted skylights, blending seamlessly with asphalt, slate, cedar, or fiberglass shingle roofs. It includes adhesive underlayment and no sealant is needed.
VELUX Rigid Sun Tunnel® Skylight – Ideal for illuminating interior rooms via a reflective tube, these rigid Sun Tunnel skylights deliver bright, high‑quality daylight and typically install in a single afternoon.
Conclusion
Adding a skylight is one of the most rewarding ways to bring more natural light and comfort into your home. With the right style, proper installation, and regular maintenance, a skylight can brighten dark spaces, improve ventilation, and even help lower energy costs.
If you’re ready to take the next step, LENCO Supplies offers a reliable selection of high-quality skylights and accessories to help you get the job done right.