A bathroom renovation is often the most rewarding upgrade you can make to your home. It also requires the most coordination. In a small 5×8 space, you must manage plumbing, electrical, tiling, and carpentry. For homeowners in Western New York, you also deal with older framing and cold-weather insulation needs.
This bathroom remodel checklist helps you organize the chaos. We want to help you stay on budget and finish on time.
The Fast Answer
Success relies on doing things in the right order. Always work from the “rough” (behind the walls) to the “finish” (what you see).
The rule of thumb: Plan first, buy second, demo third. Never tear out your only toilet until the new one is sitting in your garage.
Setting a Realistic Budget: The Foundation of Your Project

Before you fall in love with that rainfall showerhead or marble tile, you need to establish what you can actually afford. Here’s how to approach budgeting for your bathroom remodel:
Begin by researching typical costs for bathroom renovations in your area. On average, bathroom remodels range from $5,000 for basic updates to $25,000 or more for comprehensive renovations. The size of your bathroom and scope of work will significantly impact your final costs.
Create a detailed spreadsheet that accounts for every element of your remodel. Your budget should include:
- Fixtures and materials (40-50% of budget): Vanities, sinks, toilets, showers, tubs, faucets, tile, flooring
- Labor costs (20-35% of budget): General contractor, plumber, electrician, tile installer
- Permits and fees (5-10% of budget): Building permits, inspection fees
- Contingency fund (10-20% of budget): Unexpected issues like water damage, outdated wiring, or structural problems
Not all bathroom elements deserve equal investment. Decide what matters most to you. Are you willing to splurge on a luxury shower system but save on standard tile? Would you rather invest in a custom vanity or keep the existing one and update just the hardware? LENCO Supplies can help you explore options at various price points.
Account for Hidden Costs
Many homeowners underestimate expenses that aren’t immediately obvious:
- Waterproofing materials and installation
- Rough-in plumbing valves (the parts behind the walls)
- Electrical upgrades to meet current building codes
- Drywall repair and painting
- Disposal fees for demolition debris
- Alternative bathroom arrangements if this is your only bathroom
If your dream bathroom exceeds your available cash, explore financing options such as home equity loans, personal loans, or contractor financing programs. Just be sure you understand the terms and can comfortably manage the payments.
Once you have your budget, identify which items are non-negotiable and where you have flexibility. This clarity will help if you need to make adjustments when unexpected costs arise or when you fall in love with an upgrade you hadn’t originally considered.
Order Everything Before You Demo
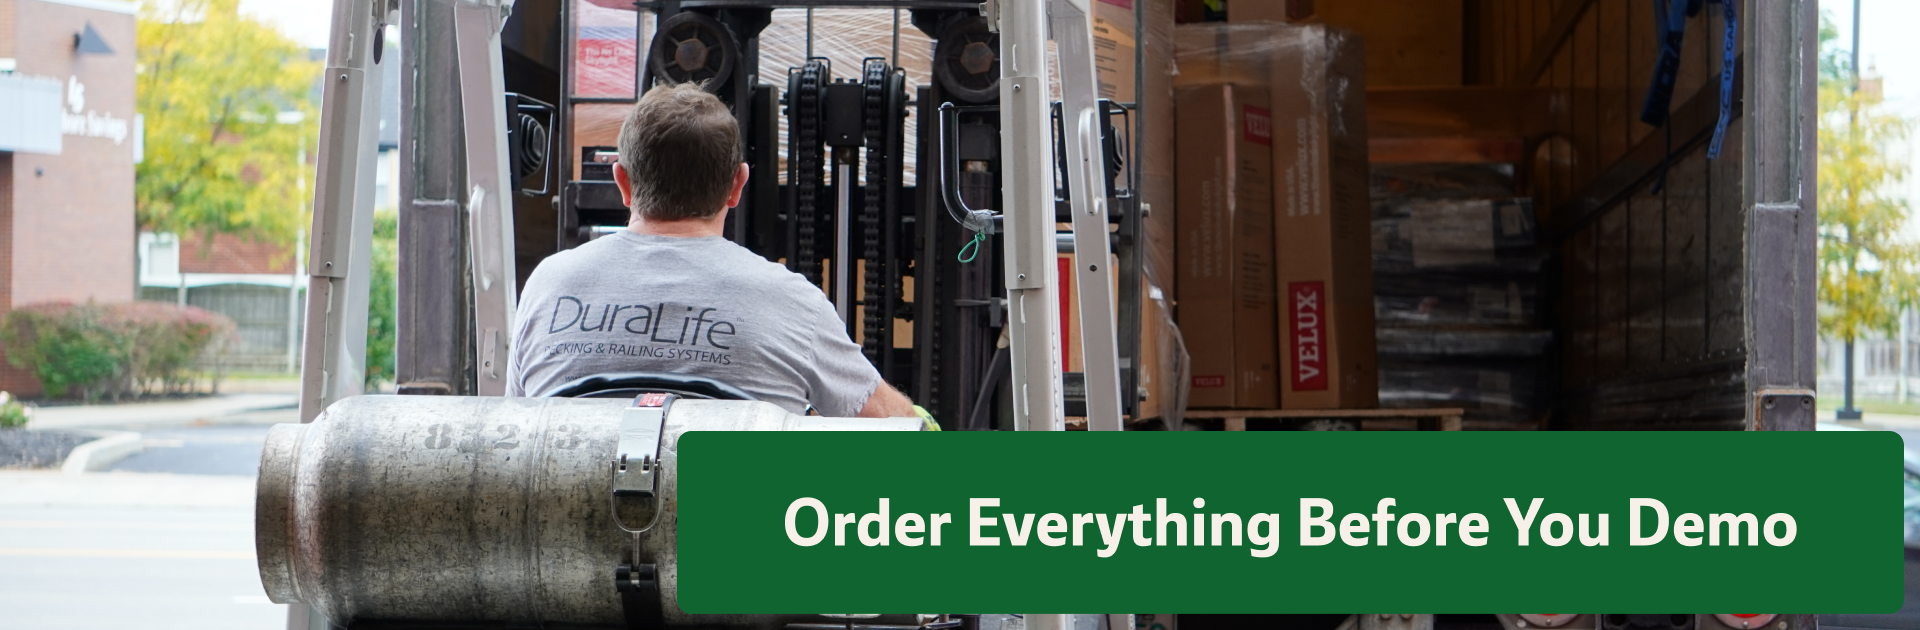
This is the most critical advice we give. Do not start demolition until your key materials are delivered.
Supply chains can be unpredictable. You do not want a gutted bathroom while you wait six weeks for a vanity. Store large items in your garage or spare room. Inspect them immediately for shipping damage.
Don’t forget the rough materials. You need more than just pretty tile.
- Keeps pipes from freezing on exterior walls.
- Waterproofing: Essential for shower walls (Schluter or similar).
- Blocking: 2×4 lumber to support grab bars and accessories.
Plan the Schedule: The Correct Order of Work

Days 1-3: Preparation and demolition
Walk through with your contractor. Remove personal items. The crew installs dust barriers and protects adjacent areas. Then demolition begins—out come old fixtures, tile, and flooring.
Days 4-7: Rough-in work
New walls go up if needed. Plumbers install supply lines and drain pipes. Electricians run wiring for lights, outlets, and switches. Building inspectors review everything before walls close.
Days 8-12: Insulation, drywall, and waterproofing
Insulation goes into exterior walls. Drywall gets hung, taped, and sanded. Waterproof membrane covers all wet areas—shower walls, tub surround, floor. Never skip this step.
Days 13-17: Tile installation
Floor tile installs first, then wall tile. Shower walls and tub surrounds follow your layout plan. After tile sets, grout fills joints. The sealer protects against stains and moisture.
Days 18-23: Paint and fixture installation
Walls get painted with moisture-resistant formulas. The vanity installs and levels. Countertops and sinks follow. The toilet gets set and connected. Shower fixtures attach to rough-in valves. Glass enclosures are measured and installed.
Days 24-27: Lighting and finishing touches
Light fixtures mount. Exhaust fan installs and vents outside. Baseboards and trim go up. Every joint gets caulked. Hardware and accessories mount. Mirrors hang.
Day 28: Final inspection
The crew deep cleans everything. You and your contractor test all fixtures, lights, and outlets. Address any remaining items. Collect warranty documentation and care instructions.
Common Mistakes to Avoid
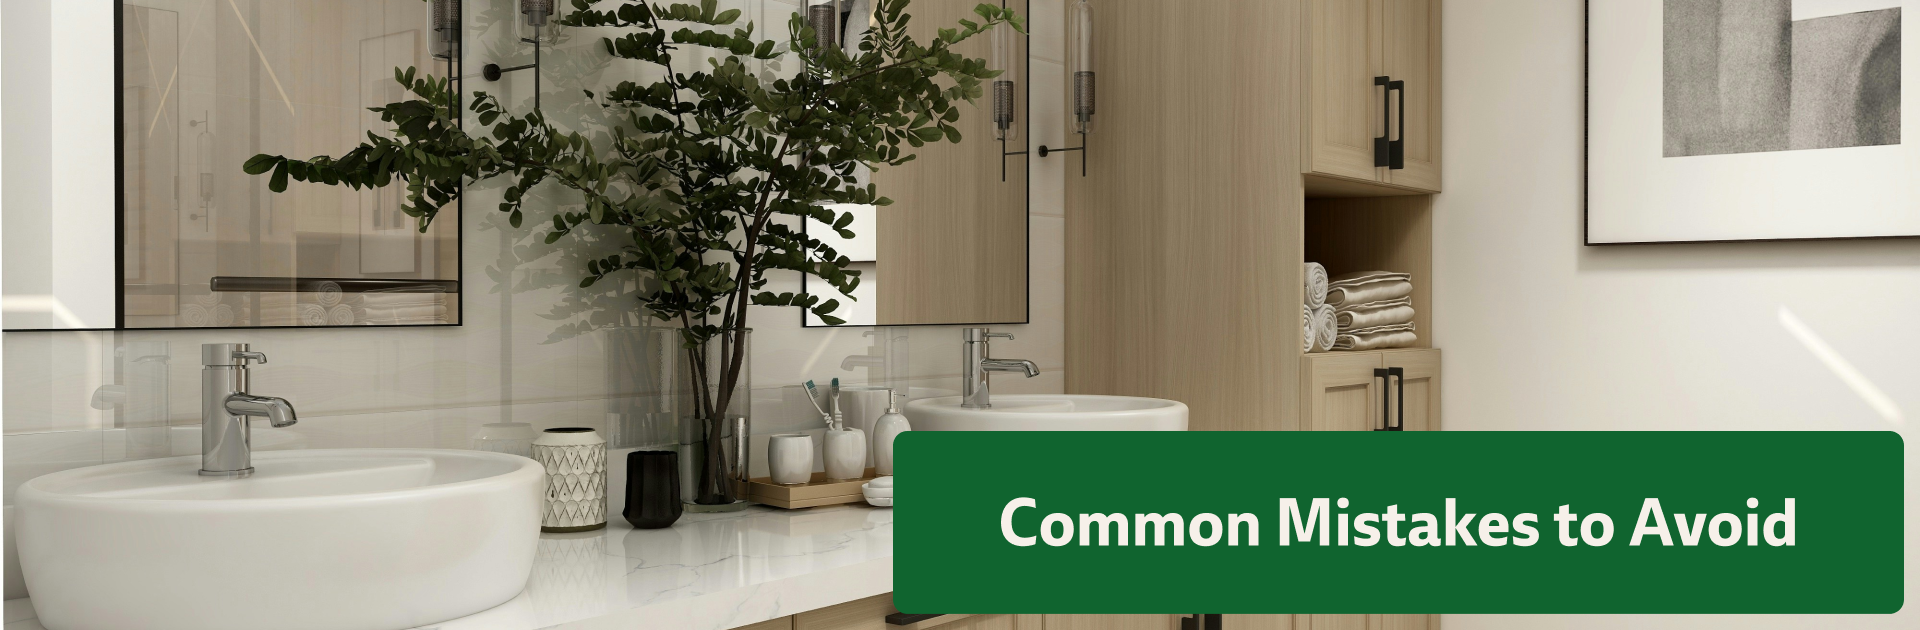
Skipping proper ventilation.
A bathroom fan isn’t just for odors. It removes moisture that causes mold. In WNY winters, windows stay closed. You need a fan vented to the outside to protect your home’s structure.
Buying a toilet that doesn’t fit.
Buying a toilet that doesn’t fit.
Measure the “rough-in.” This is the distance from the wall to the bolts on the floor. Standard is 12 inches. If your old home has a 10-inch rough-in, a standard toilet won’t fit.
Forgetting “blocking.”
It is frustrating to install a towel bar into hollow drywall. Before tiling, screw extra 2x4s between studs where you want to hang accessories. This gives you solid wood to drill into later.
When to DIY vs. Hire a Pro
You can probably DIY:
- Demolition (wear safety gear!).
- Painting.
- Installing moulding and baseboards.
- Replacing a faucet (if valves work).
Hire a Pro:
- Moving drain lines or vent stacks.
- Running new electrical circuits.
- Grading a shower floor for proper drainage.
Bringing It Together
A successful bathroom remodel requires planning, realistic budgeting, and following the correct sequence. Budget 10-20% extra for contingencies. Order materials early. Don’t skip waterproofing or proper ventilation.
LENCO’s bathroom design services help you navigate material selection, coordinate fixtures, and connect with qualified installers. With the right plan and partners, your dream bathroom becomes reality.
Ready to start? Use this bathroom remodel checklist to plan your project and create a space you’ll love for years.